
![]() 個人向けトップ > お客様サポート >
個人向けトップ > お客様サポート > ![]() オーディオ >
オーディオ > ![]() ダウンロード一覧
ダウンロード一覧![]() >
> ![]() ソフトウェア提供サービス > SC-GNW10のソフトウェアダウンロード
ソフトウェア提供サービス > SC-GNW10のソフトウェアダウンロード
ファームウェア アップデート
Firmware update
SC-GNW10のファームウェア更新の実施
Performing a firmware update for SC-GNW10
下記の手順で、SC-GNW10のファームウェアの更新を行ってください。
Please update the firmware of the SC-GNW10 by following the steps below.
ファームウェアの更新前のご注意
Precautions before updating firmware
-
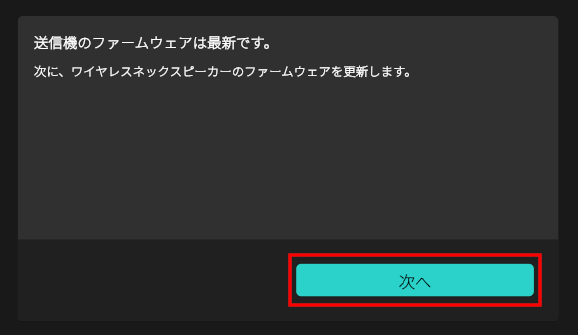
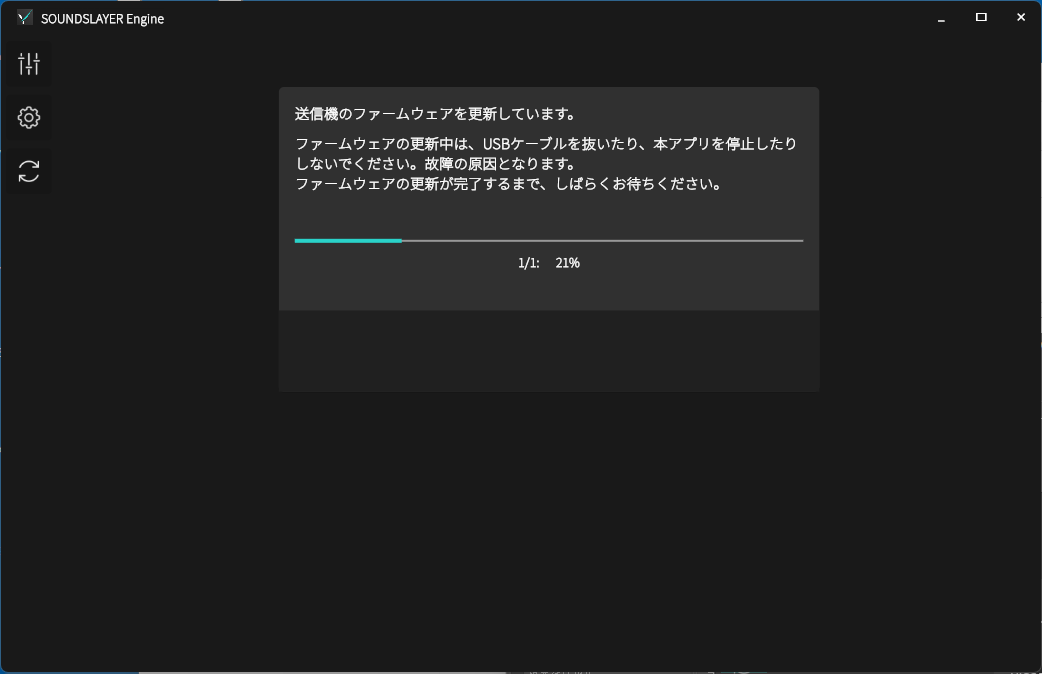
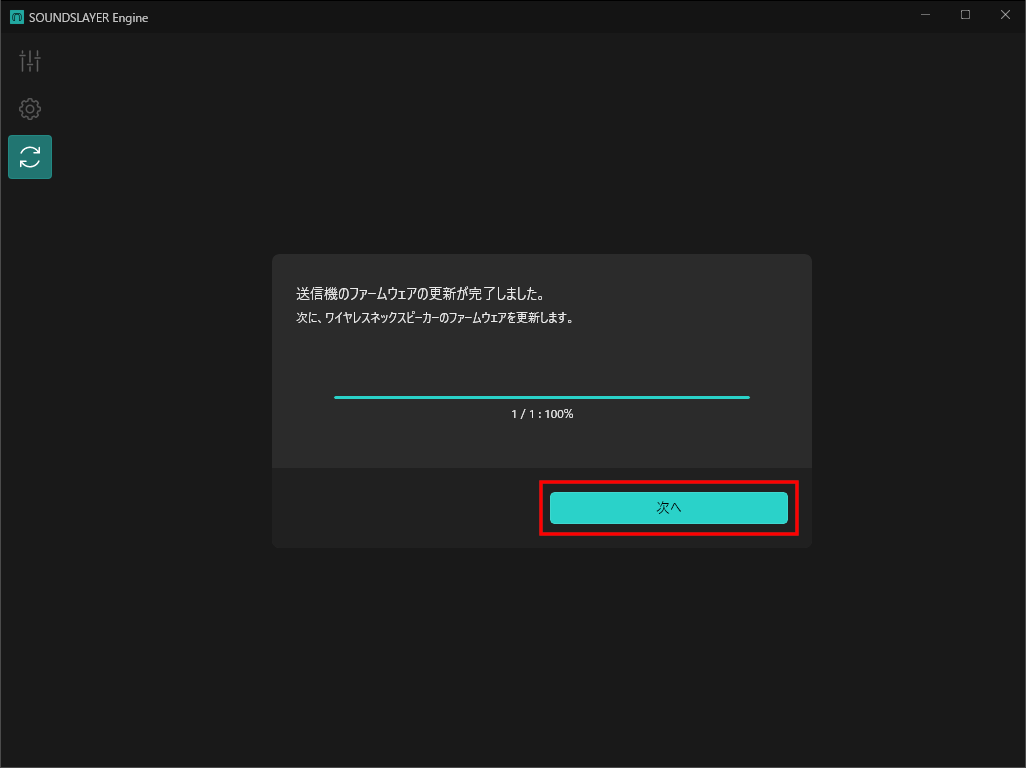
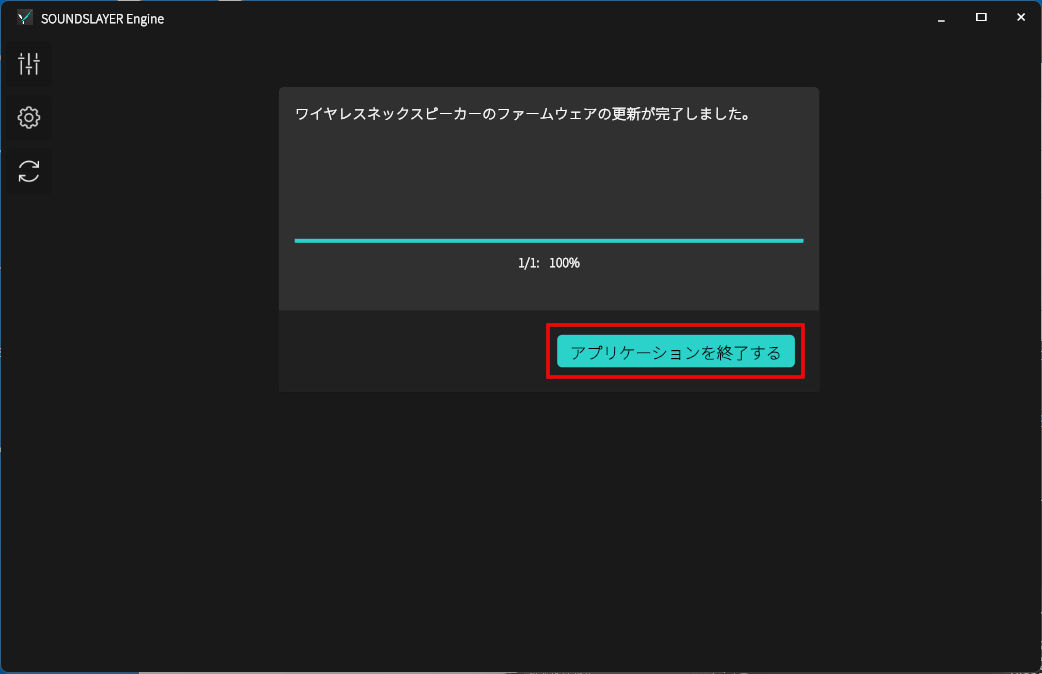
送信機のファームウェア更新が終了した後、続けてワイヤレスネックスピーカーのファームウェア更新が行われます。"SOUNDSLAYER Engine"の画面に従って操作してください。After the transmitter firmware update is complete, the wireless neck speaker firmware update will begin. Please follow the instructions on the "SOUNDSLAYER Engine" screen.
-
ファームウェア更新中は、ワイヤレスネックスピーカーや送信機の電源を操作したり、パソコンのリセット、パソコンの電源を切る操作を行わないでください。Do not operate the power of the wireless neck speaker or transmitter, reset your PC, or turn off your PC during the firmware update.
-
本機が正常に起動しなくなる可能性があります。The device may not start up properly if these operations are performed.
準備する
Prepare
-
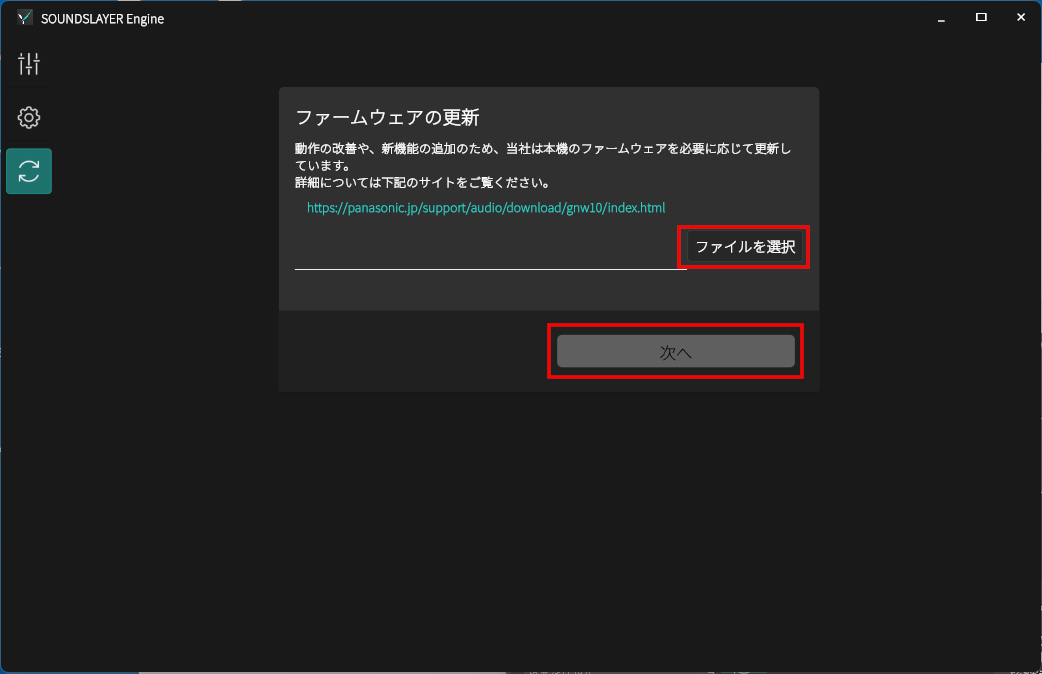
ダウンロードした本機(SC-GNW10)用のファームウェアファイル( SCGNW10_S002_20250609.bin )を準備してください。Prepare the downloaded firmware file for this unit (SC-GNW10): SCGNW10_S002_20250609.bin.
-
お使いのWindowsのバージョンが Windows10 か Windows11 であることを確認してください。Make sure your Windows version is either Windows 10 or Windows 11.
ファームウェア更新の手順
Firmware update procedure
|
|
《手順1》
[Step 1]
|
 |
 |
《手順2》
[Step 2]
|
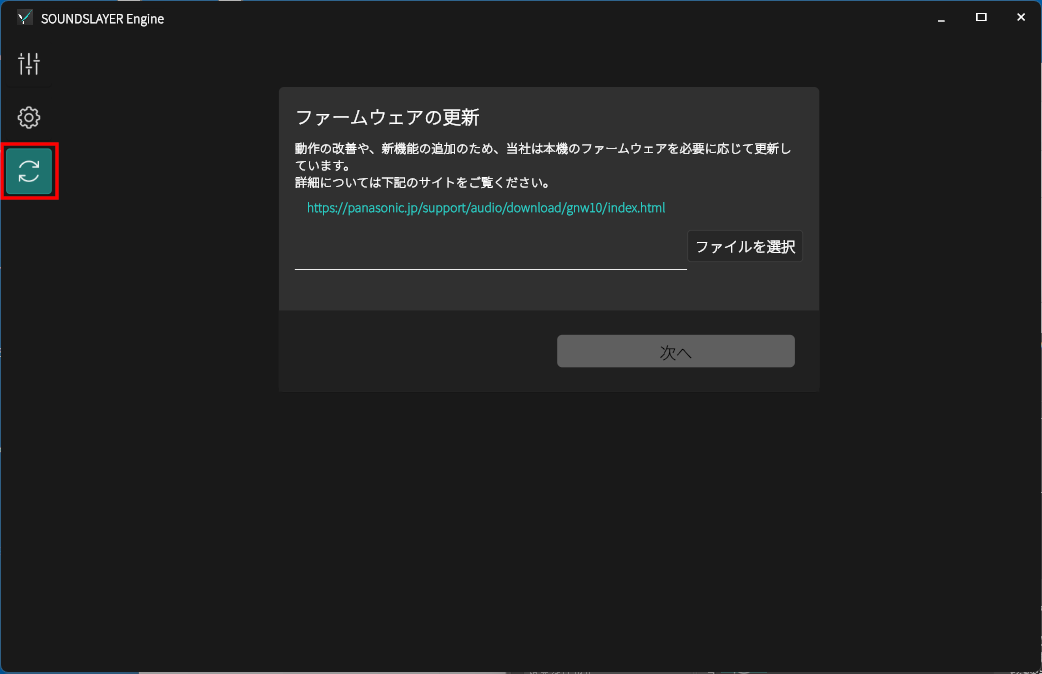
 アイコンをタップしてファーム更新画面を表示します。
|
|
 |
《手順3》
[Step 3]
|
|
|
 |
《手順4》
[Step 4]
|
|
|
 |
《手順5》
[Step 5]
|
|
|
 |
《手順6》
[Step 6]
|
|
|
 |
《手順7》
[Step 7]
|
|
|
 |
《手順8》
[Step 8]
|
|
|
 |
《手順9》
[Step 9]
|
ファームウェア更新が完了しない場合
If the firmware update does not complete
-
ワイヤレスネックスピーカーと送信機の電源を切り、「SOUNDSLAYER Engine」を終了した後、《手順1》から操作をやり直してください。Turn off the wireless neck speaker and transmitter, close "SOUNDSLAYER Engine," and start again from Step 1.
送信機とネックスピーカーをペアリングして無線接続する
Pair the transmitter and neck speaker for wireless connection
-
以下の場合は、無線ペアリングをやり直してください。
・ネックスピーカーのランプが点滅して送信機と無線接続できない場合
・ネックスピーカーを今までと異なる送信機(他のSC-GNW10, SC-GNW10S, SC-GNW30 の送信機など)と無線接続したい場合
Please perform wireless pairing again in the following cases.
- If the lamp on the neck speaker is flashing and you cannot connect wirelessly to the transmitter
- If you want to wirelessly connect the neck speaker to a different transmitter (another SC-GNW10, SC-GNW10S, SC-GNW30 transmitter, etc.)
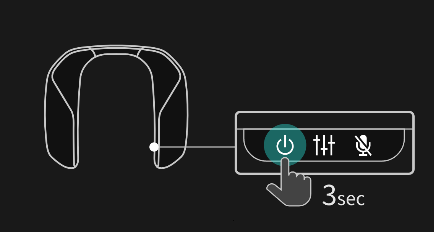 |
《手順1》
[Step 1]
|
|
|
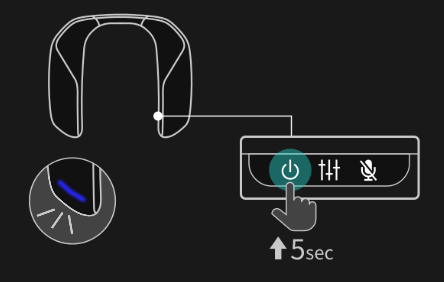 |
《手順1》
[Step 1]
|
|
|
|
|
《手順2》
[Step 2]
|
|
|
|
|
《手順3》
[Step 3]
|
|
|
|
|
《手順4》
[Step 4]
|