Voice Editing Installation Procedure
These procedures are for Voice Editing Ver.2.00 but are the same for Ver.1.00.
1. Insert the CD-R into the drive.
*If auto-start does not begin, double-click on \Launcher\VEd1Launcher.exe in the the CD drive.
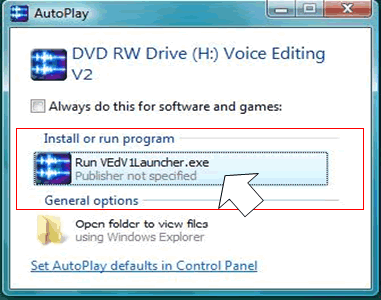
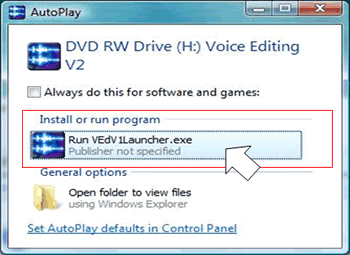
2. When the following dialog box appears, click on VEd1Launcher.exe
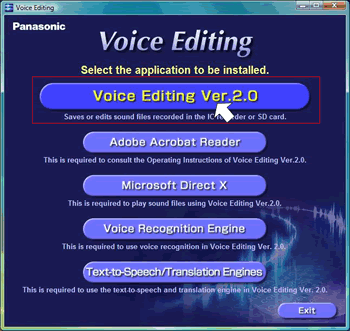
3. Click on the Voice Editing Ver.2.0 button.
Following the [Download procedure] and [Install procedure] indicated below, start the update.
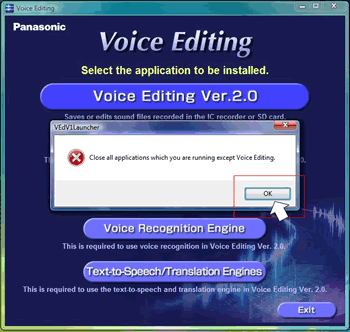
4. If any applications are running, please close them.
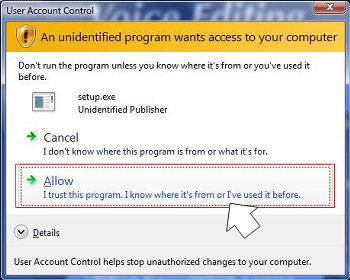
5. Click 'Allow' for Setup.exe.
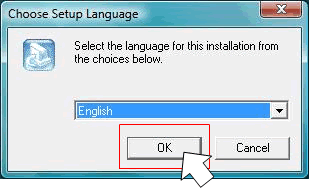
6. Click 'OK'.
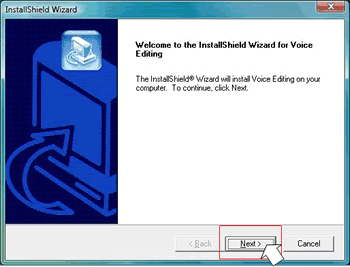
7. Click 'Next'.
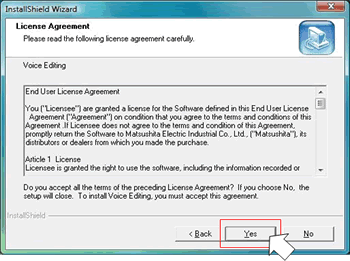
8. Read the licensing agreement and click 'Yes' if in agreement.
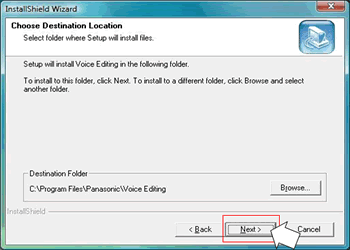
9. Select the destination and click 'Next'.
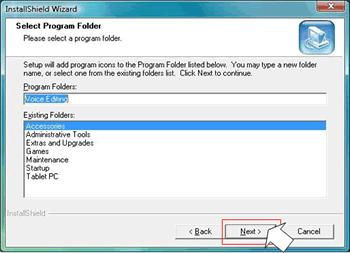
10. Select the program and folder and click 'Next'.
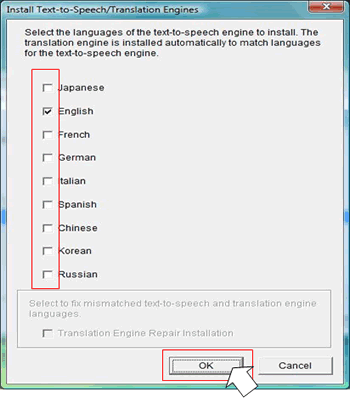
11. Check the necessary languages and click 'OK'.
Later you can add only the speech synthesis engine or the translation engine.
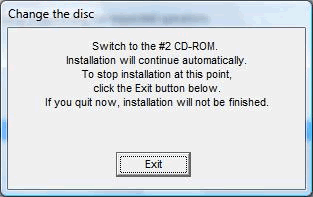
12. Switch to the second disk.
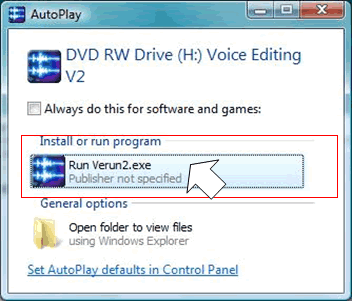
13. Click on Verun2.exe.
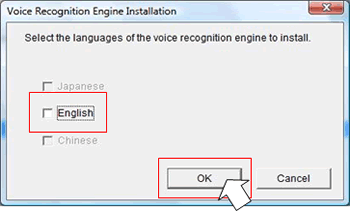
14. Remove the check from the English check box of the voice recognition engine and click 'OK'.
*This does not run in Windows Vista® so please do not install it.
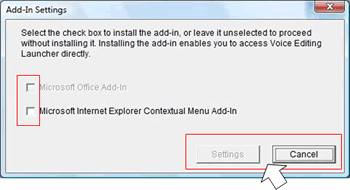
15. Enter checks as necessary and click the 'Set' button.
The software is Office 2003 capable but not Office 2007 capable.
If you do not require the add-in functions, press 'Cancel'.
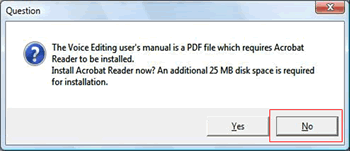
16. Click 'No'. (If this is already installed, this dialog may not appear.)
The Acrobat Reader included in the Voice Editing installation CD is not Vista-capable.
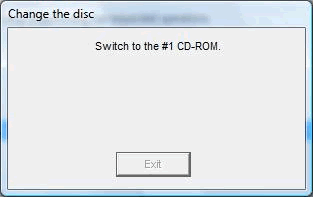
17. Switch to the first disk.
18. Launch VEdV1Launcher.exe by clicking on it.
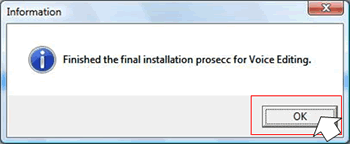
19. Click 'OK'.
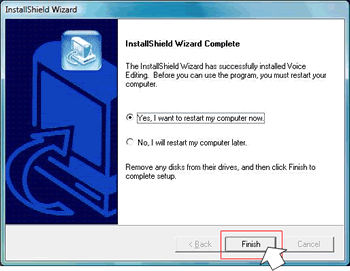
20. Reboot the computer.
